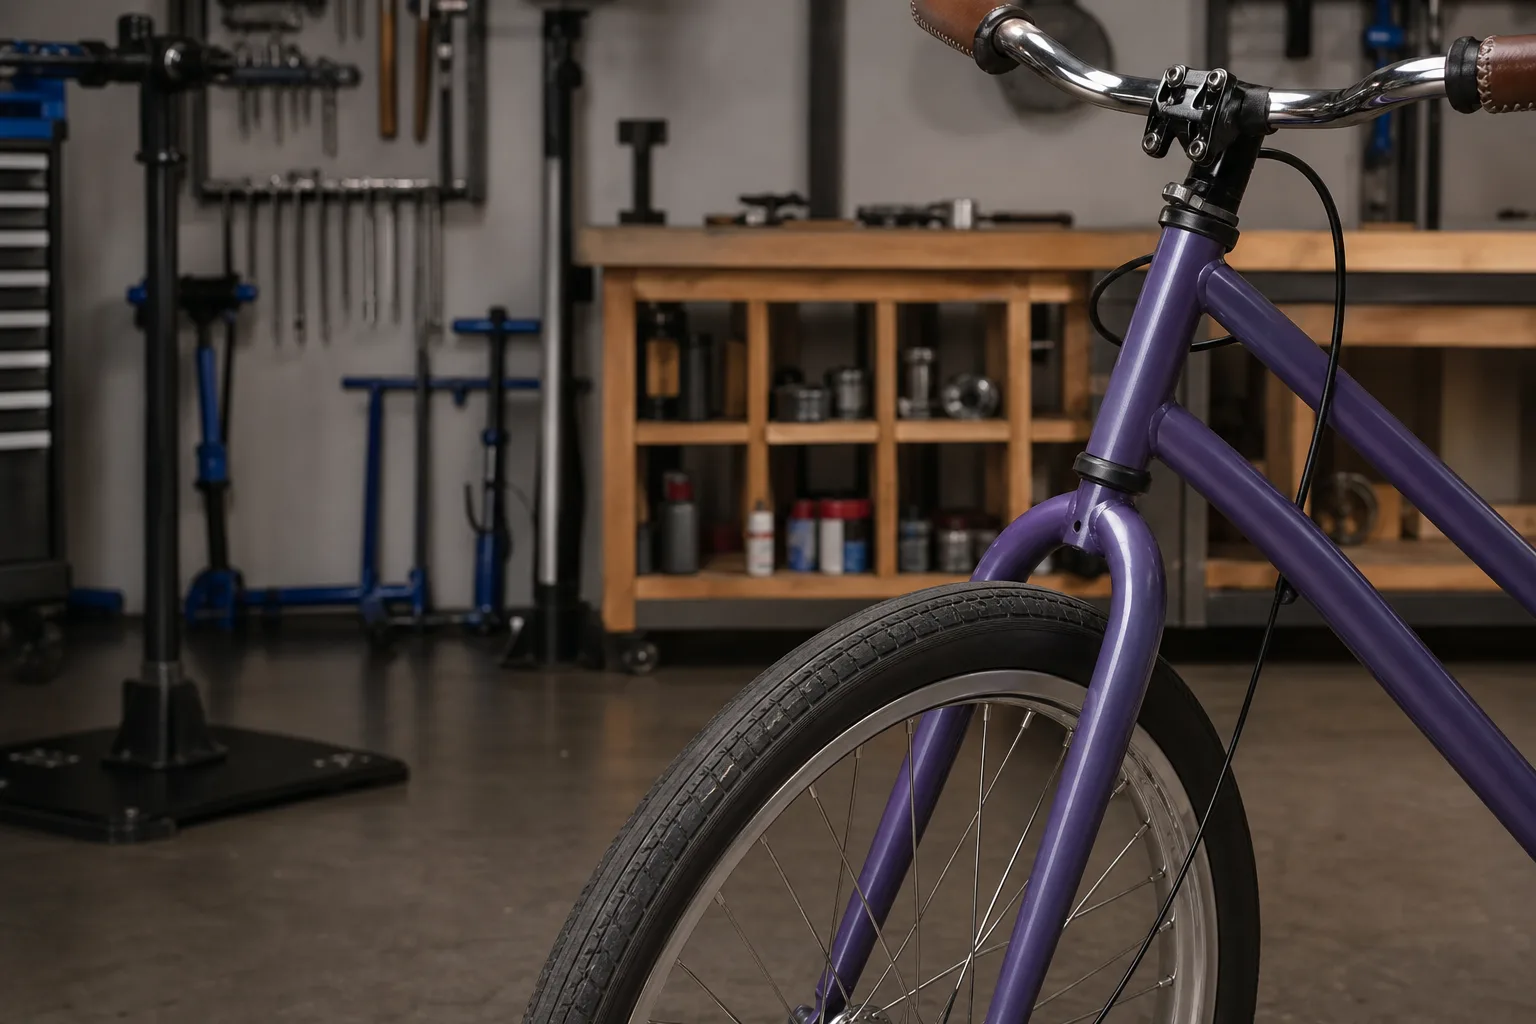
A bicycle leaves a shop floor set up for nobody in particular. The saddle sits at whatever height made the box close, the bars are clamped wherever the assembler's wrench happened to stop, and the tires are pumped to the number molded into the sidewall, which on a wide tire is a ceiling rather than a recommendation. None of that is negligence. It is the condition every bike arrives in, and the first hour of work at home changes the ride more than the difference between two models in the same price range ever would.
1. Check what the assembly left loose before anything else
Shop assembly is fast work done to a checklist, and the parts that come loose are predictable: the stem bolts, the seat post clamp, the headset preload, and on a bike shipped with the front wheel out, the axle nuts or quick release. Stand over the front wheel, grip it between your knees, and try to turn the bars. If they move against the wheel, the stem is under-torqued. Then squeeze the front brake and rock the bike forward. A knock you can feel through your hand usually means headset play, not a brake problem.
2. Set saddle height against a foot-down stop, not a pedaling stroke
The road-bike rule, a slight bend in the knee at the bottom of the stroke, gives you a saddle you cannot reach the ground from, which is the wrong trade on a bike used for three flat miles with four stops in them. Set the height so the ball of one foot reaches the pavement with the saddle still under you, then ride it and see whether your hips rock. If they do, come down a few millimeters. Mark the post with tape once it feels right, because seat posts slip and you will want the reference.
3. Rotate the bars before you decide the reach is wrong
Swept-back bars are two adjustments pretending to be one. Loosen the clamp and roll them forward and the grips move away from you and drop slightly; roll them back and the grips come closer and rise. On a typical upright bar, that rotation is worth an inch or more of effective reach in each direction, which is far more than most people expect and more than the usual stem swap would buy. Try both extremes on a short ride before settling anywhere in the middle. Reach the levers comfortably with your wrists straight, not cocked.
4. Run the wide tires soft enough to do their job
A wide tire at its maximum sidewall pressure rides harder than a narrow tire at a sane one, and the whole point of the extra volume is that it lets you drop the number. Start well below the printed maximum, ride a block of the worst pavement on your route, and keep dropping in small steps until the tire feels vague in a corner or you hear the rim on a seam. Then add a little back. Heavier riders and loaded baskets need more; a front tire can generally run softer than the rear.
5. Take a second pass after the first two weeks
New cables stretch, new brake pads bed in, and the position that felt correct in the driveway usually wants a small correction once you have ridden it to the store and back a dozen times. Re-check the same four fasteners, feel the brake lever for the extra travel that cable stretch introduces, and put a gauge on the tires, since the fat casings lose pressure slowly enough to hide it. The Consumer Product Safety Commission is responsible for the federal requirements that govern how bicycles are sold and assembled in this country, including the reflectors most riders remove and the assembly instructions most riders discard.
Keep the wrenches that came in the box, or better, buy a set of hex keys and a floor pump with a gauge you can read. Between them they cover almost everything above, and a bike checked this way in the first month tends to hold its settings for a season.